Table of Contents
[show]
The heart of your car, the engine, thrives on a mixture of air and fuel. Ensuring that fuel reaches the engine in the purest form is essential for optimal performance. And it's the fuel injectors that play a pivotal role in this. Over time, these injectors accumulate deposits and need cleaning. But did you know you can do this maintenance right at home? Let’s dive into the nitty-gritty of cleaning fuel injectors from the comfort of your garage.
1. Understanding Fuel Injectors: The Basics
- 1.1 What is a Fuel Injector?
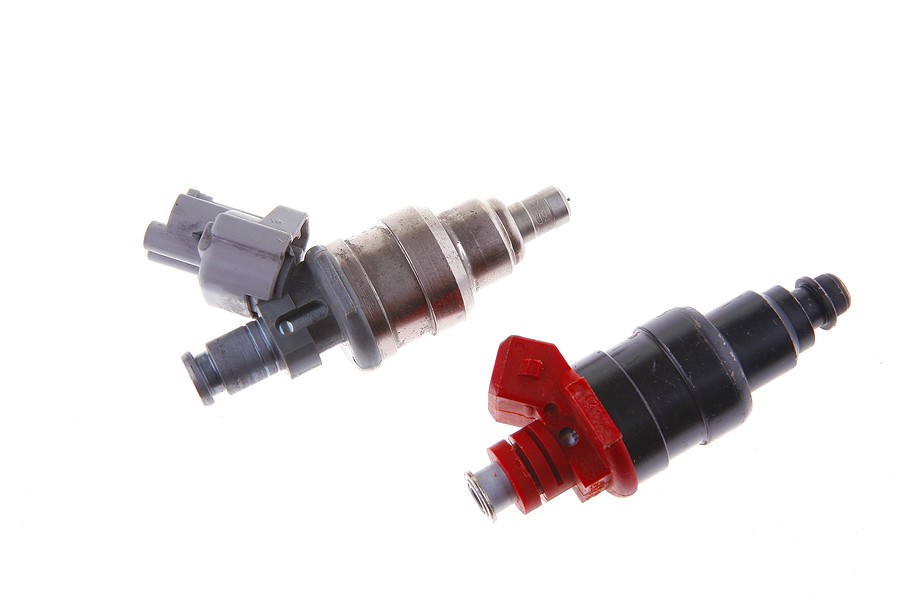
A fuel injector is a valve that delivers fuel to a vehicle's engine. It has to open and close numerous times per minute, ensuring that the engine receives the right amount of fuel at all times. - 1.2 Why Do Fuel Injectors Get Dirty?
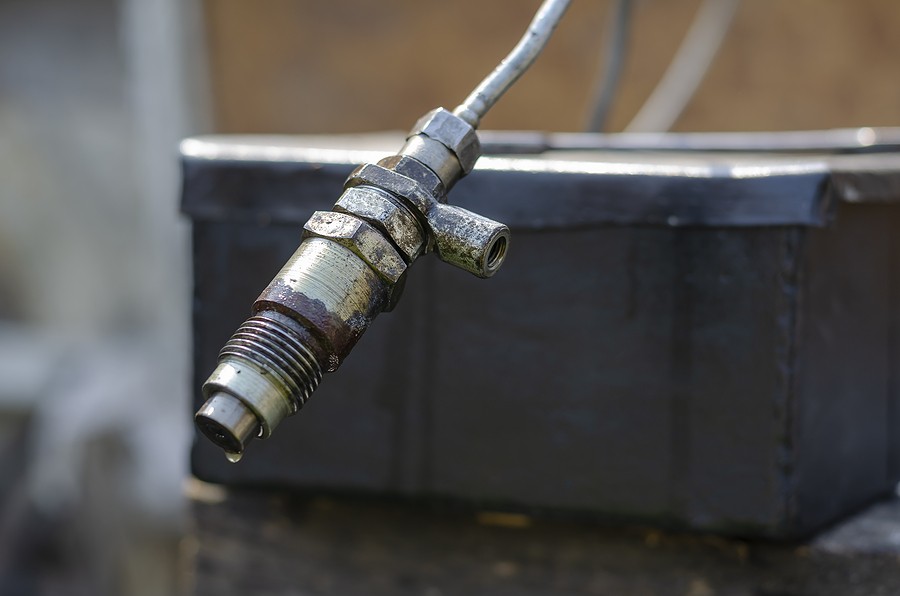
Fuel residues, especially in low-quality fuel, can lead to deposits forming on the injector nozzles. This affects the spray pattern and volume, leading to inefficiencies. - 1.3 Symptoms of Dirty Fuel Injectors
A decline in gas mileage, poor performance, engine misfires, and increased emissions are telltale signs. - 1.4 Importance of Cleaning Fuel Injectors
Clean injectors ensure optimal fuel atomization, leading to efficient combustion, better fuel economy, and smoother engine operation. 
2. The Home Mechanic’s Toolkit for Injector Cleaning
- 2.1 Necessary Equipment
Gather a fuel injector cleaner kit, a car battery, a U-tube, a canister of cleaning solvent, and safety gear (gloves and goggles). - 2.2 Choosing the Right Cleaning Solvent
Opt for solvents specifically designed for fuel injectors. They dissolve the deposits more effectively. - 2.3 Safety First!
Always work in a well-ventilated space. Fuel vapors can be harmful when inhaled in large amounts. - 2.4 Prepping Your Workspace
Clear your garage space, keep fire-extinguishing equipment close, and ensure there are no open flames nearby.

3. Manual Cleaning Method: Step-by-Step Guide
- 3.1 Removing the Injectors
Switch off the engine, disconnect the fuel pump, and remove the fuel injectors from the engine carefully. - 3.2 Setting up the Cleaning Kit
Connect the cleaning solvent canister to the fuel input hose and connect the fuel injectors to the cleaning kit. - 3.3 Running the Cleaning Solution
Turn on the car battery and let the cleaning solution flow through the injectors until it runs clear. - 3.4 Reinstallation
Once cleaned, reinstall the injectors, ensuring no dirt gets into the system.

4. Using Commercial Injector Cleaning Additives
- 4.1 How Do They Work?
These additives, when mixed with gasoline, clean the injectors as the fuel passes through them. - 4.2 The Pros
Easy to use, no need to dismantle anything, and relatively inexpensive. - 4.3 The Cons
Not as thorough as the manual method, and some low-quality products might not work effectively. - 4.4 Top Brands to Consider
STP, Chevron Techron, and Lucas are some market leaders offering reliable injector cleaning additives.

5. Ultrasonic Cleaning: A Deep Cleanse
- 5.1 How Does It Work?
Fuel injectors are immersed in a cleaning solvent and subjected to ultrasonic waves, dislodging even the most stubborn deposits. - 5.2 DIY Ultrasonic Cleaners
While professional-grade machines can be pricey, smaller, affordable ultrasonic cleaners are available for home mechanics. - 5.3 The Procedure
Detach the injectors, immerse them in the solvent inside the cleaner, and run the machine for 15-30 minutes. - 5.4 Safety and Precautions
Always ensure that the cleaner is compatible with the solvent and never use flammable liquids.
6. The Frequency of Cleaning
- 6.1 Based on Mileage
Typically, cleaning fuel injectors every 30,000 to 60,000 miles is advisable for most vehicles. - 6.2 Signs to Watch For
If you notice a drop in fuel efficiency, rough idling, or difficulty in starting, it might be time for a clean. - 6.3 Regular Maintenance
Regular oil changes, using quality fuel, and occasional use of cleaning additives can extend the period between manual cleanings. - 6.4 The Cost Factor
Doing it yourself is significantly cheaper than professional services, with DIY methods costing as little as $20, excluding tool investments. 
7. Common Myths and Misconceptions
- 7.1 Myth: Premium Fuel Cleans Injectors
While premium fuels might have better additives, they aren't a replacement for dedicated cleaning. - 7.2 Myth: Cleaning Injectors Damages Them
Using the right methods and solvents ensures that there's no damage. However, aggressive chemicals can harm. - 7.3 Myth: All Additives Are the Same
Different brands and formulations offer varying degrees of effectiveness. - 7.4 Myth: Manual Cleaning is Always Better
For lightly fouled injectors, additives might suffice. Manual cleaning is best for heavily clogged injectors.
To ensure that your car runs smoothly, giving attention to small components like fuel injectors is crucial. A little hands-on care, coupled with knowledge, can lead to significant savings and a car that purrs like a kitten on the road.
Carl Anthony is the Managing Editor of AutoEnthusiast and the host of MotorTalk Radio. Being an advocate for everyday drivers and car lovers alike, Carl’s insights and advice have helped many make informed decisions on the road. His expertise ensures that every reader leaves with newfound knowledge. Remember, the pulse of your car's performance is just an injector clean away.
Photos & Source: Various automotive DIY forums & manufacturers.


