Changing your car's oil is a rite of passage for every DIY car enthusiast. Taking charge of this essential maintenance task not only saves you money but provides a sense of achievement and confidence in understanding your vehicle. If you've ever thought of venturing into this task, this guide is specially tailored for you.
1. Why Should You Change Your Oil?
1.1. Prolonging Engine Life
Regular oil changes reduce wear and tear, keeping your engine running smoothly and extending its life.
1.2. Better Performance
Fresh oil optimizes engine performance, ensuring your vehicle runs efficiently.
1.3. Fuel Efficiency
A clean engine reduces friction, which can help improve fuel consumption.
1.4. Environmental Benefits
Changing oil regularly ensures minimal harmful emissions, making it environmentally friendly.
2. Identifying When Your Car Needs an Oil Change
2.1. Mileage Check
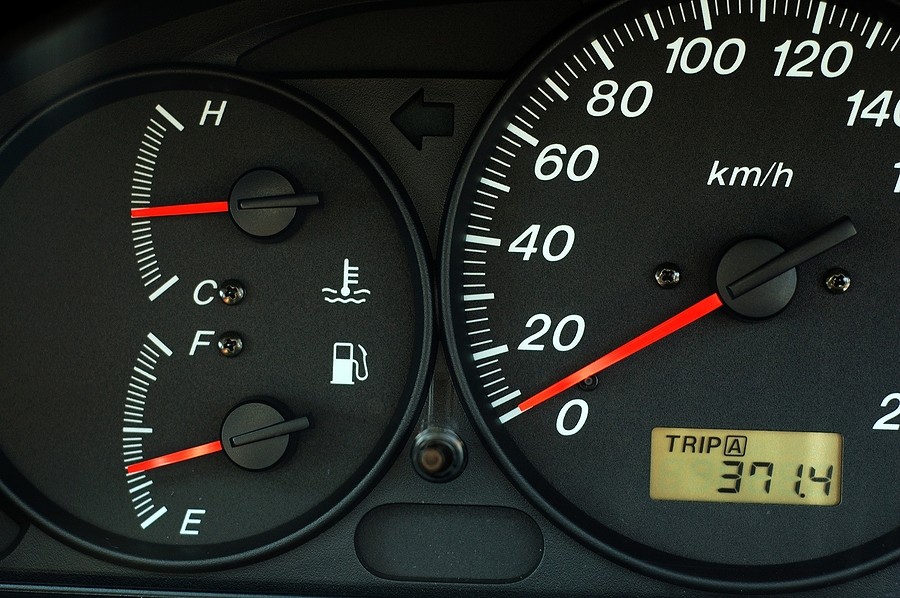
Most cars require an oil change every 3,000 to 7,000 miles. Consult your vehicle’s manual for specifics.
2.2. Change in Oil Texture
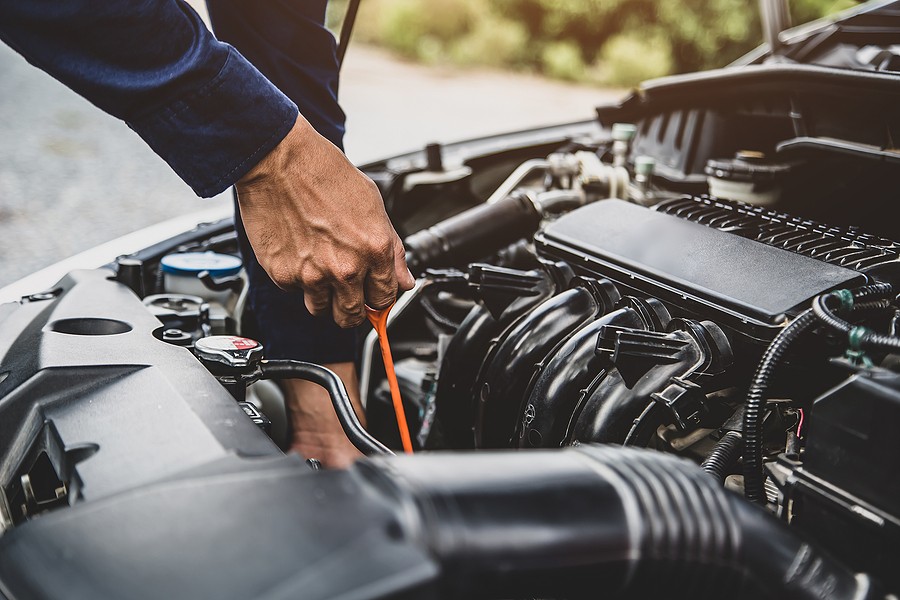
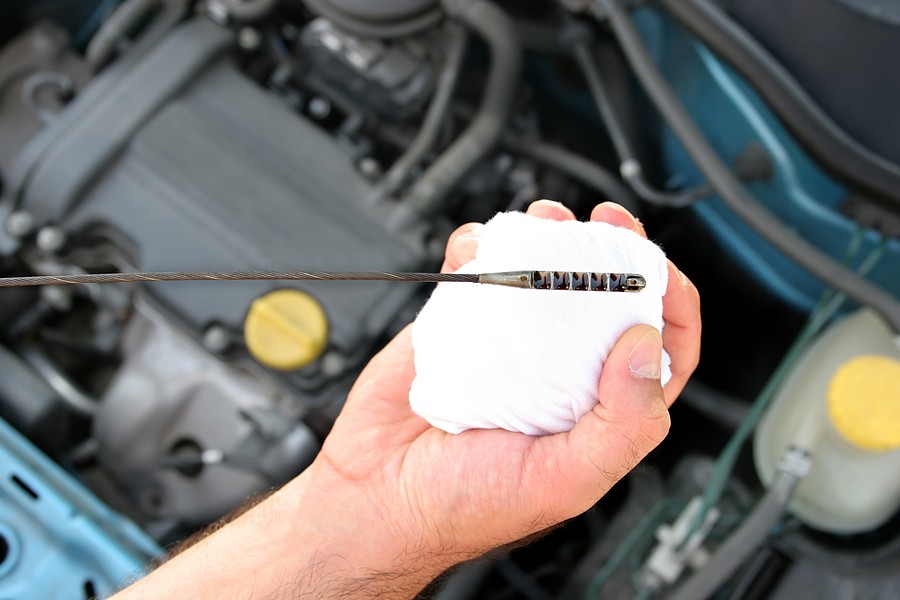
Dip the oil stick; if the oil is gritty rather than smooth, it's time for a change.
2.3. Engine Noise
Increased engine noise can be an indicator of old or insufficient oil.
2.4. Oil Warning Light
If this light illuminates, it's a direct signal that your car needs fresh oil.
3. Gathering Necessary Supplies
3.1. Choosing the Right Oil
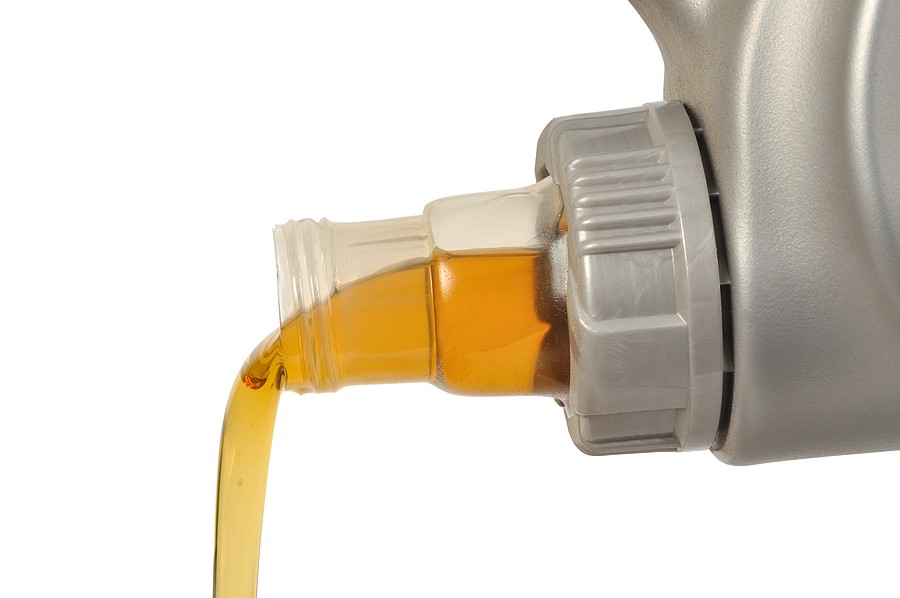
Every car has specific viscosity requirements. Check your owner's manual for recommendations.
3.2. Oil Filter
Always replace the oil filter during an oil change.
3.3. Tools
You'll need a wrench, an oil filter wrench, a drain pan, funnel, and possibly jack stands.
3.4. Safety Gear
Consider gloves and safety glasses to protect yourself.
4. Steps to a Successful DIY Oil Change
4.1. Preparing the Car
Warm the car up for a few minutes. Then, if needed, jack it up and ensure it's securely positioned.
4.2. Draining the Old Oil
Position the drain pan beneath the oil pan, undo the drain plug using your wrench, and let the oil flow out.
4.3. Replacing the Oil Filter
Using the oil filter wrench, remove the old filter. Before installing the new one, apply a little fresh oil to the gasket.
4.4. Adding the New Oil
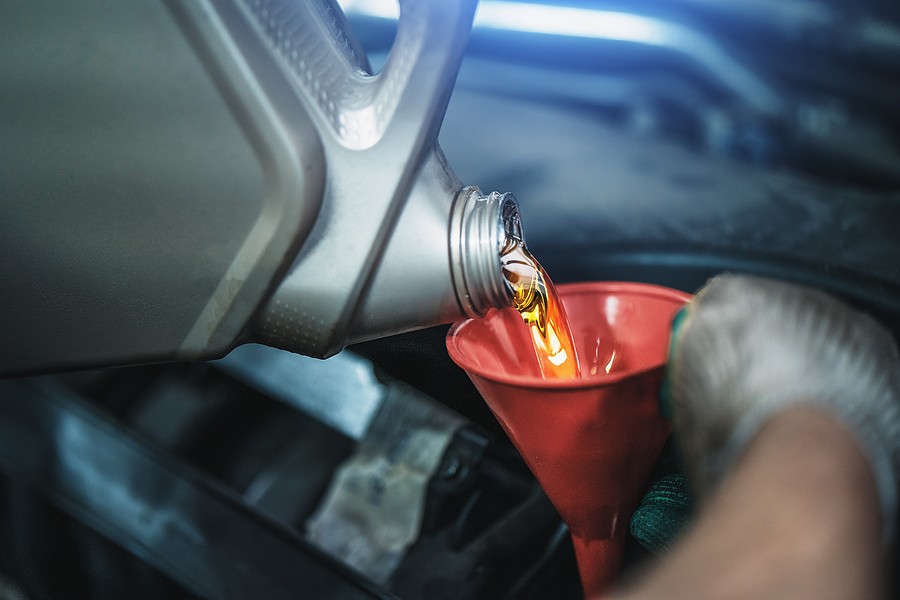
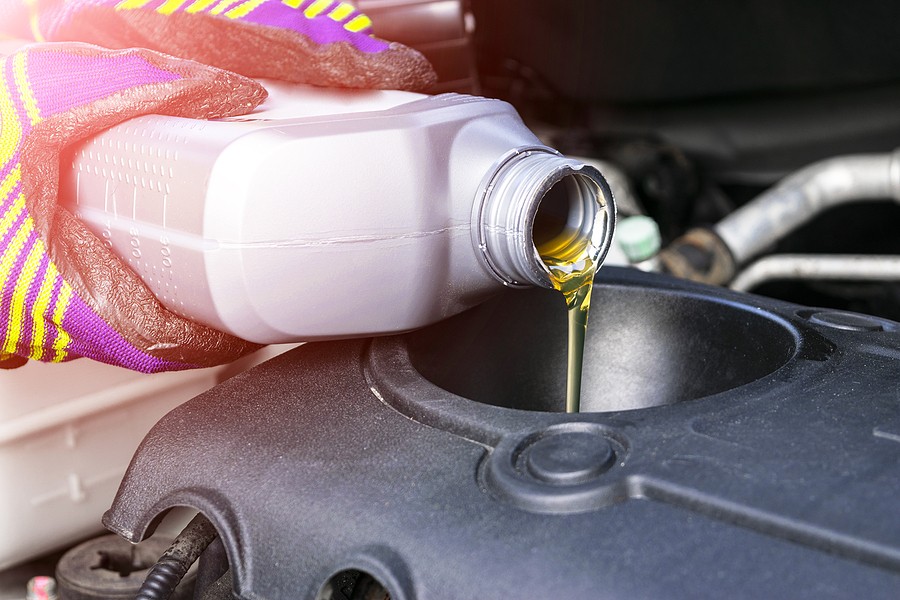
Place the funnel over the oil fill hole and pour in the required quantity. Check for any leaks.
5. Checking Your Work
5.1. Check Oil Levels
After pouring in the oil and replacing the cap, pull out the dipstick, wipe it, re-insert it, and then pull it out again to check the level.
5.2. Inspect for Leaks
Start the car and let it run for a few minutes, then inspect the area around the oil pan and filter for leaks.
5.3. Monitor Engine Noise
Noise should be reduced after the oil change.
5.4. Dispose of Old Oil Properly
Never pour oil down drains. Transport it in containers to recycling facilities or auto stores.
6. Mistakes to Avoid for Beginners
6.1. Using the Wrong Oil
This can damage your engine. Always consult the manual.
6.2. Over or Under-filling
Both can be harmful. Always measure the quantity.
6.3. Not Tightening the Oil Filter or Plug
This can cause leaks. Ensure everything is tight before finishing.
6.4. Skipping the Oil Filter Change
A dirty filter can contaminate new oil.
7. Benefits of Regular DIY Oil Changes
7.1. Cost Savings
Avoiding labor costs can save you a substantial amount annually.
7.2. Personal Satisfaction
There’s a great sense of accomplishment in doing it yourself.
7.3. Knowledge of Your Vehicle
Regular DIY maintenance gives you a deeper understanding of your car.
7.4. Control Over Materials
You choose the quality of the oil and filter, ensuring the best for your vehicle.

- Why Changing Your Own Oil Matters
- Personal anecdotes about the cost savings and the satisfaction of DIY maintenance.
- More detailed statistics on regular maintenance and its effects on vehicle longevity.
- Benefits of a DIY Oil Change
- A comparison chart of costs between DIY vs. professional services over a year.
- Personal testimonies from other DIY enthusiasts.
- Understanding the Basics
- More detailed discussion on types of engine oils and their specific uses.
- A sidebar on the history and evolution of engine oils.
- Safety First: Setting the Stage
- Tips on setting up a well-lit workspace.
- Emphasis on the importance of not rushing and ensuring you're working in a safe environment.

- Tools and Materials
- A deeper dive into each tool and its function.
- Tips on maintaining your tools to ensure longevity.
- Step-by-step Guide
- Add more visuals or descriptions of each step.
- Additional common mistakes and how to avoid them.
- Disposing of the Old Oil
- Benefits of recycling oil and its impact on the environment.
- A feature on organizations or services that prioritize eco-friendly disposal.
- After Your Oil Change
- More detailed tips on monitoring oil health.
- Additional steps on general car maintenance post oil change.
In conclusion, mastering the DIY oil change is an empowering endeavor that offers numerous benefits from financial savings to an intimate understanding of your vehicle. With this guide, even the most novice car owner can confidently tackle this task, ensuring a well-maintained and efficient-running vehicle. Happy motoring!


