The catalytic converter is a major part of the emissions system, and it reduces harmful emissions coming from your vehicle's exhaust. But how often do you clean it?
Cleaning a catalytic converter is not as difficult as it may seem. In fact, with the right tools and instructions, it can be a relatively easy process. The most important part is making sure that you are taking the necessary precautions to avoid damaging the converter or yourself in the process.
This article will serve as a basic guide on cleaning your catalytic converter for those looking to do it themselves. However, if you feel uncomfortable with this task, you may want to consider having a professional do it for you.
What is a catalytic converter, and what does it do?
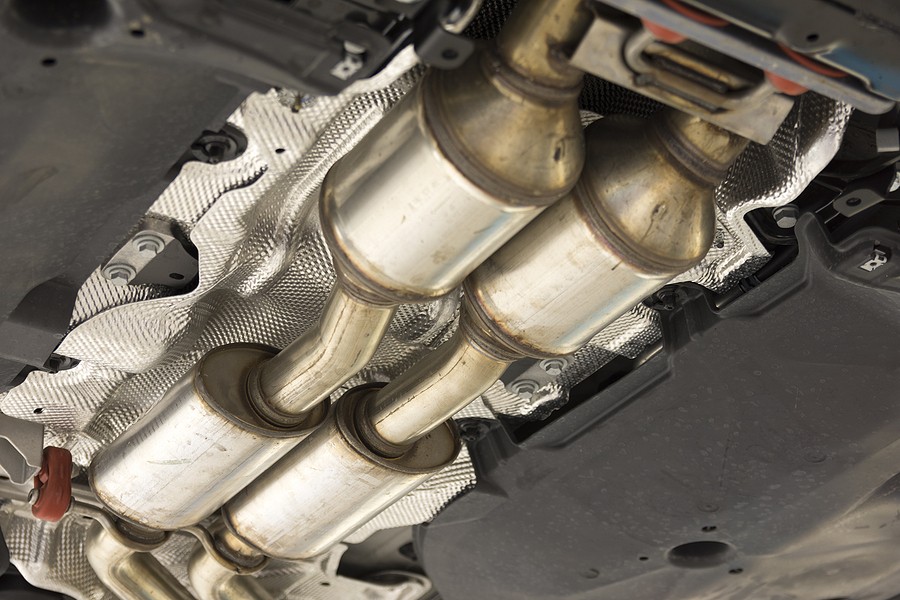
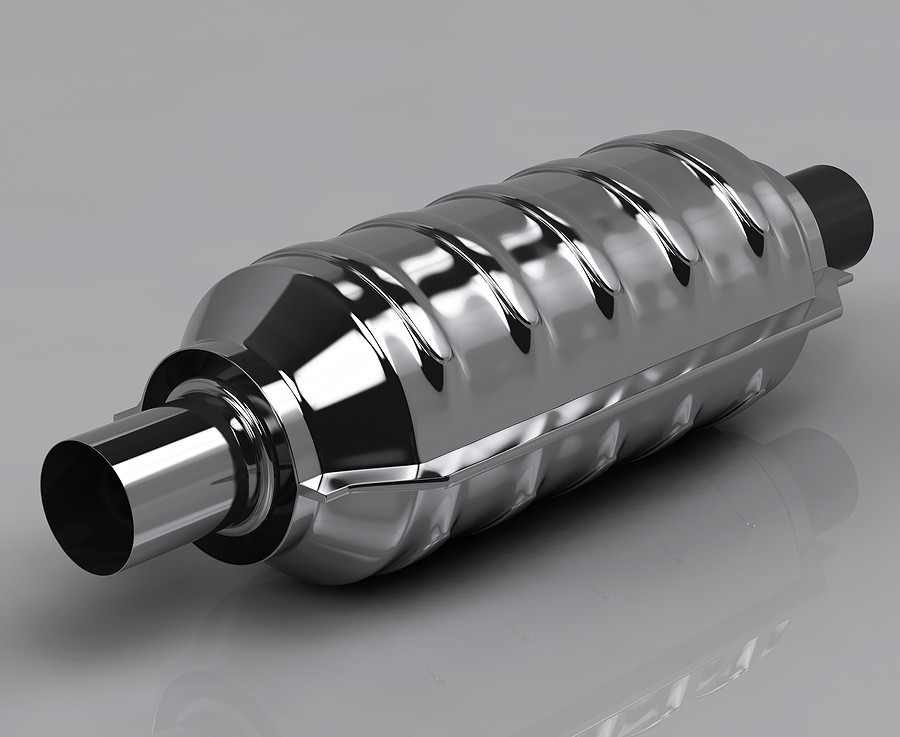
A catalytic converter is a pollution control device that reduces harmful emissions from your vehicle by converting carbon monoxide and hydrocarbons into less harmful gases. A typical car has two right after the engine and the other just before the muffler.
The job of these converters is to reduce exhaust emissions, so they do not enter the atmosphere. Unfortunately, when the catalytic converter gets dirty, it does not function properly and can cause your engine to run less efficiently.

How often should you clean your catalytic converter?
The best answer is to check with your local emissions testing station. Depending on where you live, you may have to get the converter cleaned every time you go for an emissions test or when a professional service technician recommends it.
If this isn't possible due to the location of your car or its age, then there are tell-tale signs that indicate your catalytic converter needs some attention. One of the most obvious signs is when you notice a reduction in gas mileage. This happens because your engine has to work harder trying to break down harmful pollutants being emitted by the exhaust system.
Also, if you have an older car with over 100,000 miles on it, you may want to get the converter checked or cleaned. It is not uncommon for newer cars to have their catalytic converters replaced after about 130,000 miles because of consistent exposure to harmful emissions.
How do you clean a catalytic converter?
Suppose you're comfortable cleaning your catalytic converter. However, you must follow a specific procedure to prevent dealing with complications that might impact your health or cost you thousands of dollars on repairs.
Here are the steps you need to follow in cleaning a catalytic converter:
- First, park the car on a flat surface and raise the rear end with jack stands (do not use normal jacking). Make sure to place wood blocks or bricks under the front wheels to keep them rolling forward.
- Locate both of your catalytic converters under your vehicle, one after the other – each will be in the form of a long, slightly arched tube. To get better access to them, you may need to remove some parts from underneath your cars, such as the heat shield or even the gas tank skid plate.
- There will be two converters for each side of your vehicle (driver and passenger). Locate their exhaust pipe connections by following them with your hand towards their final destination near your muffler. On some vehicles, they may not be visible due to exhaust pipes obstructing them or because multiple catalytic converters are encased in what appears to be an aluminum box on top of them that is covered with heat-resistant insulation known as “heat shields.”
- Connect your catalytic converter bike attachment to your handheld or stationary drill. Make sure that the bit is appropriate for drilling metal – if using a handheld drill, you must proceed with caution so as not to break it in case of overheating. You will need a fairly powerful electric or pneumatic drill with chucks that can handle bits with diameters between 3/8″ and ½” for this task.
- Drill two holes in the side of each catalytic converter which will serve as entry points for chemicals designed to dissolve deposits inside them – they are usually round or triangular shaped at about 1/3 of the way down their length. Again, you should start small (1/4″) and make them bigger if needed by using larger bits until you achieve the desired size (3/8″).
- You may use jacks to prop up or support each end of your catalytic converter so that it rests at an angle that will allow for better drainage.
- Pull the spark plug wires off of their plugs on all of your vehicle's cylinders, then disconnect them by pulling firmly but gently on their rubber boots until you feel them pop out of place – this will prevent accidentally grounding out some engine parts while you are working with chemicals inside your engine compartment. If they have any corrosion, clean them thoroughly with a wire brush and some contact cleaner spray before reinstalling them later.
- Open both ends of your catalytic converter so you can pour in the cleaning fluid. Some chemicals are designed to be poured in the holes you drilled; others come in a full-strength concentration that requires you to pour them directly inside one end of each converter until they're about half full.

- Plug the open ends of your catalytic converters with rags to prevent any chemicals from spilling out – if some do get into your engine compartment, it might damage or discolor its painted surfaces or plastic parts.
- Connect rubber hoses or fuel line tubing to both openings of your catalytic converters so that their openings point downwards for better drainage when you lift your vehicle at each side with hydraulic floor jacks (do not use regular jack stands).
- Use bungee cords to secure each jack stand to your vehicle's frame so that it doesn't slip or move while you are underneath its undercarriage.
- Pour the additional chemical into a garden sprayer, then spray all of the inside surfaces of each catalytic converter – do this from both ends to ensure that you get any deposits deep inside them as well as what might be clinging to their walls. You should also spray those same surfaces from outside if possible but make sure not to spill chemicals over them as they may damage other components on your engine such as sensors and wiring.
- Build a “wall” of cardboard boxes, pillows, rags, etc… around your hydraulic jacks to keep wandering pets and people away from it – do not work under your vehicle without this wall between you and your jacks.
- Put on latex gloves, then pour the remaining chemical into each catalytic converter's open-end. At the same time, it is still propped up – you should be able to hear its contents gurgling inside them as they are filled up, which means that your chemicals are working to dissolve any deposits that might be clogging up their walls. Let them sit like this for at least 1 hour (overnight would be even better).
- Lower one side of your vehicle until its respective jack stand comes in contact with the ground, wait a minute or two, then do the same thing for your other side, after which you can remove all of your jack stands. Suppose there is plenty of room to maneuver underneath your vehicle. In that case, you can also lift both sides together – this is usually much easier when cleaning one end of your catalytic converters at a time.

- Lift each end back up with the hydraulic floor jacks, then tighten all four jack stands securely in place, after which you can remove all of your bungee cords.
- Remove the rags from inside each catalytic converter's ends and plug them tightly with their caps or plugs – if any chemicals spilled out, wipe it clean before doing this step; otherwise, you might create a big mess under your vehicle when trying to start it later on.
- Disconnect the rubber hoses and fuel line tubing from each catalytic converter and plug them tightly with their caps or plugs as well.
- Lower your vehicle back down again to the ground, wait a minute or two for it to settle (while monitoring its undercarriage with your flashlight), then check over your work by looking at each catalytic converter closely – if some chemicals spilled out of them, then wipe them clean before beginning this step otherwise you will create another big mess that must be cleaned up later on. If they look good, go ahead and start your car to see if any leaks are coming from them – if everything looks fine, proceed to step 20. Otherwise, lower either side on the hydraulic floor jacks again so you can repeat steps 15-17 until this step turns outright, which is probably less than the first time around.
- Lower both sides of your vehicle back down to the ground, disconnect both sets of rubber hoses and fuel line tubing from each catalytic converter, then plug their open ends tightly with their caps or plugs as well – do not make any new messes on your undercarriage that need to be cleaned up later on by forgetting to plug these hoses after you've finished this step!
- Clean all spillage away from underneath your vehicle's undercarriage with paper towels, rags, etc., and throw them into a trash bag afterward. Do not flush them down your toilet or pour them onto the ground because they are toxic chemicals that will contaminate anything they come in contact with.
- Put the caps or plugs back into each end of your catalytic converters' open ends, lower either side of your vehicle until its respective jack stand comes in contact with the ground, wait a minute or two to make sure it has settled before lowering the other side onto its respective jack stand as well, then remove all four jack stands and their bungee cords once you are certain that no leaks are coming from any part of your undercarriage.
- Double-check everything for leakage again by looking closely at every inch beneath your vehicle's undercarriage with a flashlight while standing directly above it – if everything looks good, then take one more walk around underneath it using the same flashlight just to be double sure that everything looks fine.

- Now you can go ahead and remove your hydraulic floor jacks along with their respective jack stands, bungee cords, ladders, etc…and place them back in the back of your vehicle – make sure everything is properly stored away before going on to step 25 because you do not want anything falling out of your vehicle while driving it!
- Drive slowly for a few minutes around town or a local highway if possible – be careful not to exceed 50 miles per hour (80kph) during this test drive because catalytic converters get extremely hot from all of that friction which will melt. Anything flammable near them without warning! After doing this for at least 1-2 minutes, then come to a full stop and check beneath your vehicle for any leaks coming from it – if everything looks fine, then you've successfully removed your catalytic converter(s) without damaging. Them, so congratulations!
5 Best catalytic converter cleaners in 2022
Here is the list of the five best catalytic converter cleaners in 2022:
1. Krud Kutter
Suppose you don't want to spend a small fortune buying expensive cleaners and chemicals for your catalytic converter. In that case, Krud Kutter is the product you should be looking into because not only does it do a great job in removing rust and corrosion from your vehicle's catalytic converter, but it won't leave any traces of residue or mess behind afterward, which can damage your engine if it gets sucked up by your engine's ventilation system.
2. ZEP Professional
ZEP makes it onto this list because not only does their catalytic converter cleaner do a great job in removing rust and corrosion, but they also use citrus cleaners, so you don't have to worry about breathing any fumes that are harmful to your health. In addition, this product is powerful enough to remove most of the crud found inside your vehicle's catalytic converter without causing any damage – try not to spill it on anything painted because it will eat through most finishes!
3. Liquid Wrench
Suppose you want the best bang for your buck when it comes to cleaners. In that case, the Liquid wrench should be at the top of your list because even though it doesn't come in liquid form, it does work extremely well when it comes to removing rust and corrosion from your vehicle's catalytic converter without harming the surrounding engine components. However, you want to make sure that it is completely wiped off with a clean cloth after using it – this will prevent any residue from forming afterward, which can clog up your vehicle's ventilation system.
4. CRC
CRC makes another appearance on our list because not only does it do an excellent job in cleaning out any rust or corrosion that has built up inside your catalytic converter, but their cleaners won't mess with any of the factories applied chemicals that are usually found on many of today's newer vehicles – be careful not to spill it on anything painted! And lastly…
5. Oatey
Oatey's catalytic converter cleaner does a great job removing all kinds of buildup within your catalytic converter. Still, it doesn't stop there because this product will strip away any varnish or rust that may be inside the exhaust pipes as well. It only comes in liquid form, so you'll have to use a good amount of it when cleaning your catalytic converter.
Conclusion
Cleaning a catalytic converter can be a tricky job, but it's necessary to keep your vehicle running smoothly. Many different types of cleaners will work for the task, so make sure you research before buying one to find out which is best for your needs.
The ones we've listed above should give you an idea of what type of product you need depending on how much rust and corrosion has built up inside your exhaust system or if any varnish or rust is clogging up the pipes as well.


